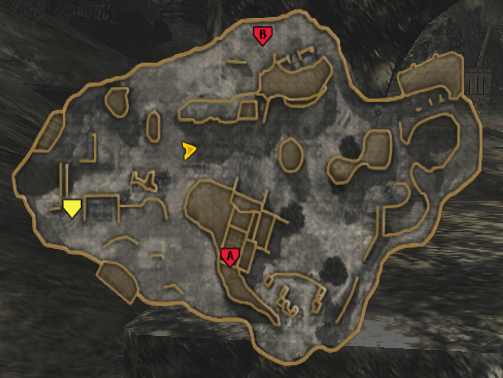
Cliffside is a wide open map. With 3 main alleys for attack. All of the choke points are wide, and bomb site b can be approached from many different points. In all it makes for a hard map to place you’re Bettys, but here at T&C| we like to do the odd experiment and you lucky peps get all of the benefits. So lets start having a look at the map.

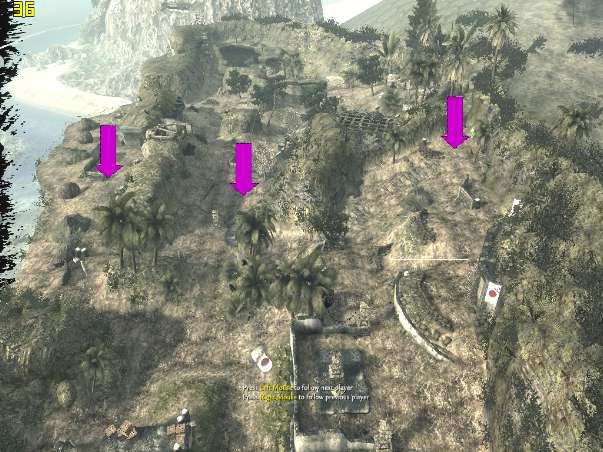
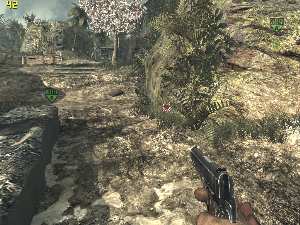
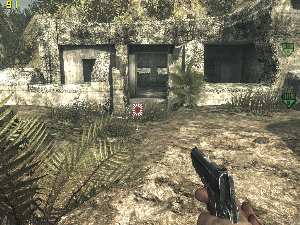
Looking from the attacking side spawn point,
We can clearly see the 3 alleys for attack. If you leave any one of the alleys ways open you leave you side open to flank attack. The left side leading to bomb site B has lots of smallish choke points and lots of flourishing plant life to hide Bettys; it can be a bit of a lottery though are there are so many. The middle is so wide open that it makes it all most impossible foe effective Betty placement. The right side gets very narrow at one point and makes for good Betty placement.
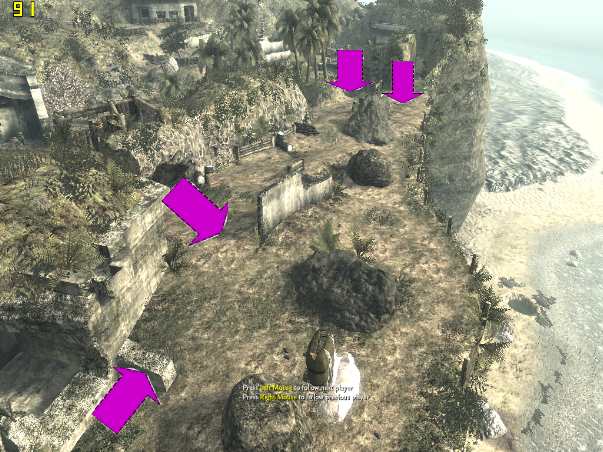
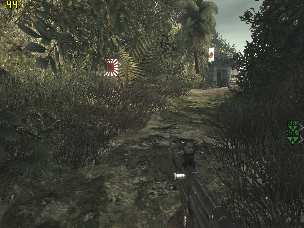
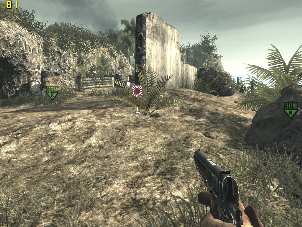
As you can see from the above picture, there are a number of ways to approach bomb site B. so Betty placement can be a bit of a lottery. One way round this is to place your Betty in the open and us it as a warning. It works like this.
Place Betty in the open.
Run off and hide.
When you hear someone shooting the Betty jump up and shot them.
As a adding bonus you now have a corps in which to hide other bitty in.
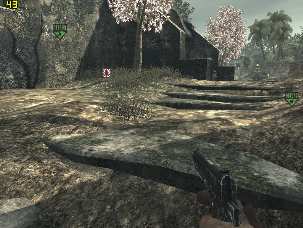
From defenders spawn, rear of centre entrance to A.
When defending this is a quick and safe betty to get down. Hidden in the long grass it will catch many a rusher out.
I have talked about the middle being to open for Betty placement but because it is wide open if the enemy fancy going for a walk up there they often hug the side wall till the last moment.
Make them pay for there foolish ways, hide a betty in the undergrowth.
In the alley south of A
The alley here is very tight and overgrown. And Betty hidden here will get a kill.
If you find that the enemy is blowing up the Betty they are more then likely using bomb squad. Use this to you advantage and use the warning Betty as discuss above
Bomb site A.
The enemy should always check the sides of the stairs before planting / defusing. Tuck a Betty away in the corner. It will be well hidden in the corner and will trip when some one runs up / down the stairs.
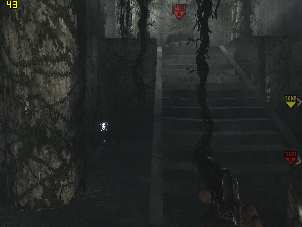
Bottom of the stairs, bomb site A
I often see this placement of a Betty. Unless you get lucky it will be a wasted Betty.
Viewed from the top of the stairs it can be clearly seen. If the enemy enter from the bottom the crypt will shield most of the blast.
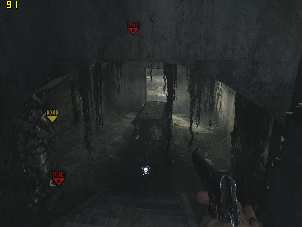
Bomb site B, exit of bunker.
Unless you are using this as warning Betty it is a poor place to plant. It is to far from the bomb site and any one coming from the bunker will see it very early.
Bomb site B
As we have found B has a number of was to be approached, but I have found through trial and error that this is an effective place. It covers two entrances and is well hidden from view behind the bush.

Although bomb site B has lots of approach points it does go some way to make up for this with lots of undergrowth to hide your Bettys in. this can have the effect of slowing the enemy down as they check.
Well that’s about it for Cliffside, unless you know of a super spot. If you do please feel free to get in touch. I would love to here off you.
Goggle tags
1. Call of duty, call of duty 5, call of duty waw, call of duty tips, call of duty hacks, call of duty cheats, call of duty advice, bouncing betty, bouncing betty tips, bouncing betty cheats, bouncing betty mine, bouncing betty land mine, bouncing betty call of duty.
